HOW TO: Create Tags for Messages
Note: Tags help categorize and organize your messaging templates. See this article on how to apply them to your email templates.
Navigate to the ‘Messaging Center’ from the Main Menu icon in the top left corner
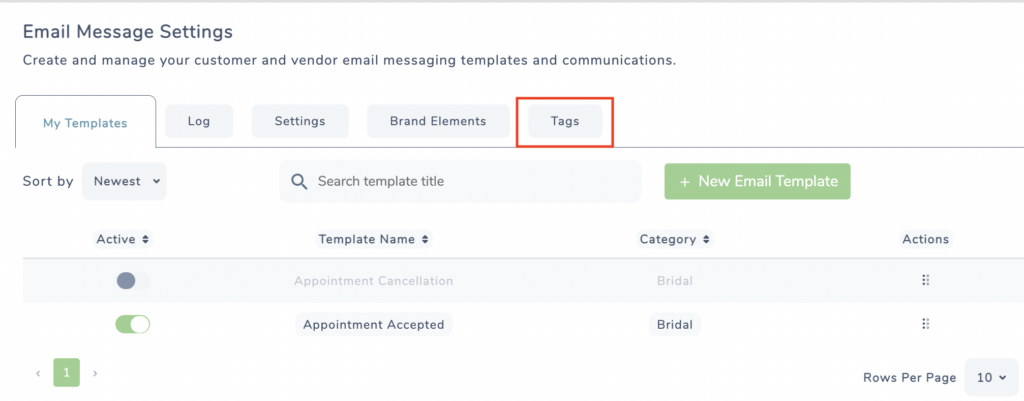
- Select the ‘Tags‘ tab

- Click the ‘+ New Tag’ button

- Enter a name you’d like to use to organize your email templates with in the ‘Name’ text box
- Enter a description of the tag into the ‘Description‘ text box
- Next, select the radio buttons (Text and/or Email) to apply that tag to the type of message you’d like to use it with
- Click, ‘Save‘
Once the tag is made you can deactivate or reactivate it as needed by toggling the green button to the left of the tag.

